
Uncategorized
Unique DIY Fashion Accessories At Home: A Complete Guide
Oct
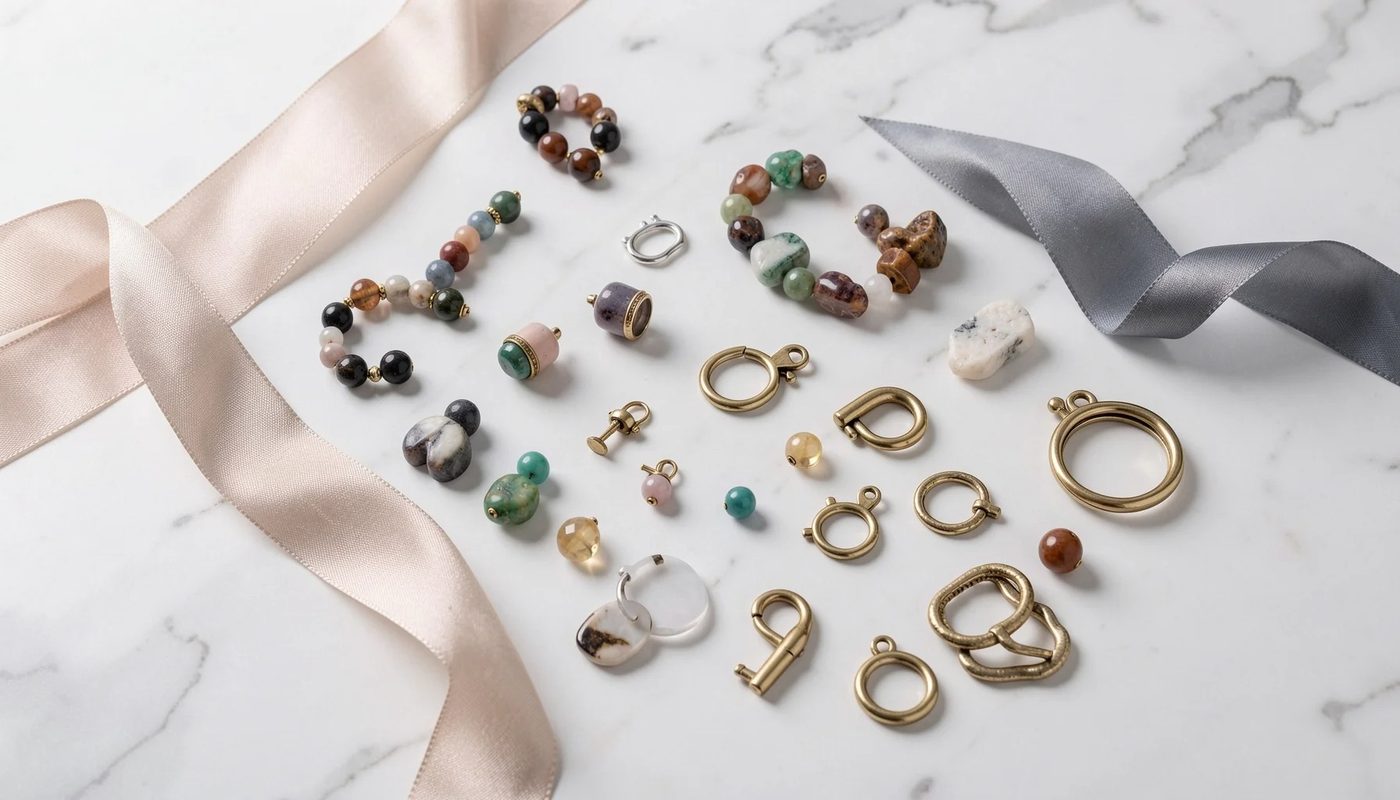
Making DIY fashion accessories at home allows you to create pieces that match your personal style, save money, and make use of materials you already have. Kaiteez is a free resource for craft tutorials, featuring projects such as bracelets, necklaces, hair clips, and handmade bags, along with suggested materials and step-by-step instructions. You can start with a simple design and then customize the colors, style, and combinations to suit your preferences.
What Does It Mean to Make DIY Fashion Accessories at Home?
Making DIY fashion accessories at home involves using craft materials and techniques to create or transform items according to your personal style. Kaiteez supports beginners with practical tutorials covering jewelry, accessories, and decorative projects. It serves as a content and learning platform rather than design software or a product manufacturing service.
From an Idea to a Wearable Accessory
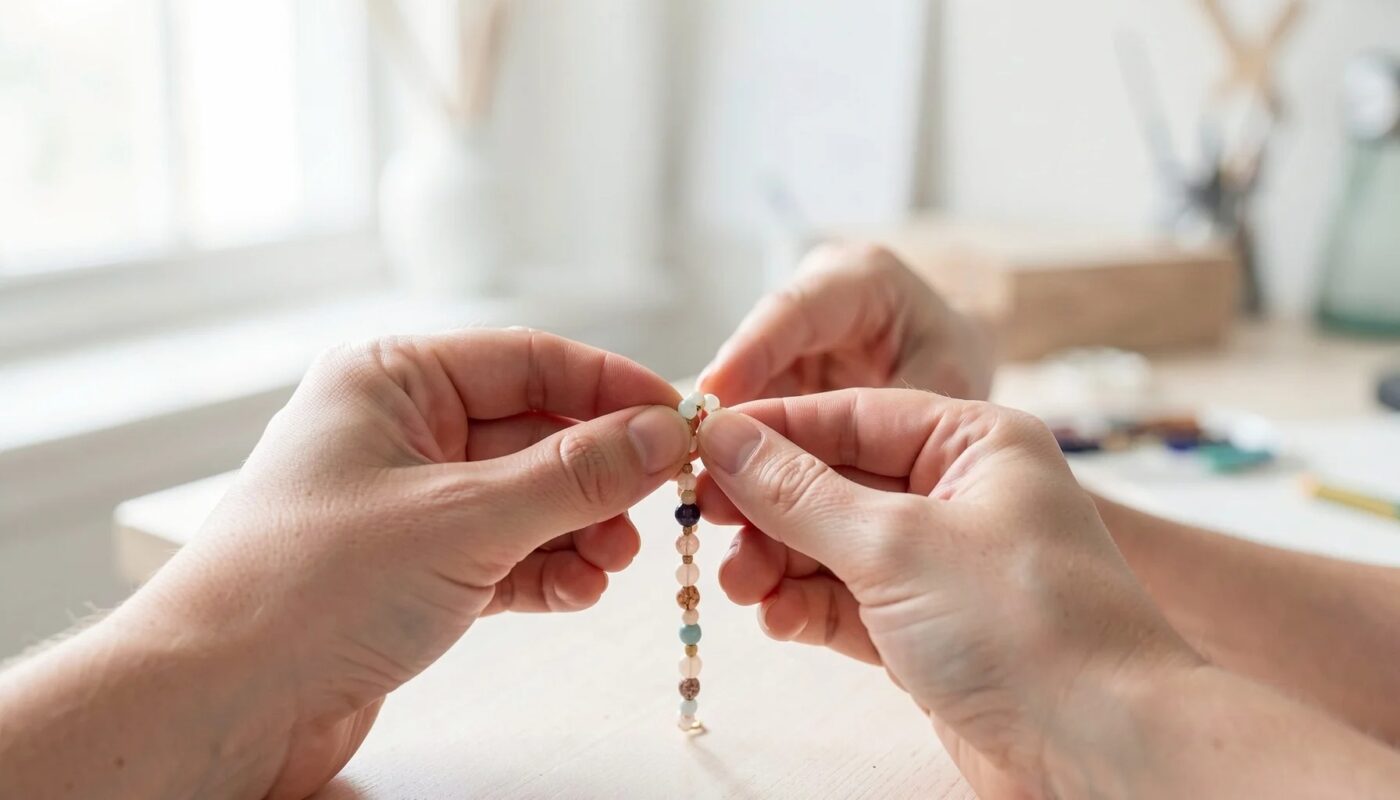
A DIY project usually begins by choosing the type of accessory you want to create, such as a beaded bracelet, necklace, hair clip, or fabric bag. Next, decide on the design, colors, and intended use—whether you want to coordinate it with everyday outfits, create a gift, or experiment with a new creative idea.
The difference between a handmade accessory and a ready-made product goes beyond appearance. You can adjust the length of a strap or chain, coordinate colors with your wardrobe, select materials that feel comfortable against your skin, or modify the design if the finished piece does not meet your expectations. For beginners, choosing projects with fewer steps can make the process easier to follow and complete.
Kaiteez focuses on beginner-friendly craft tutorials that generally do not require expensive specialized machinery. Topics include beading, knitting and crochet, embroidery, and upcycling fabric scraps. Depending on the tutorial, you may also find material lists and images or videos demonstrating the techniques.
How Does Kaiteez Support DIY Makers?
Using content on Kaiteez is straightforward: choose a suitable category or project, review the required materials, follow the steps, customize the design, and inspect the finished piece. The platform serves as an online knowledge resource, and according to the provided information, users do not need to pay to access its tutorial content.
Kaiteez can be useful for different purposes. Students can experiment with accessories to complement their outfits without buying many new items. Craft enthusiasts can turn DIY projects into a relaxing hobby, while content creators can find inspiration for videos. People interested in starting a small business can also learn basic techniques and evaluate the quality of their handmade products before selling them.
To find a suitable idea, you can start at Kaiteez, choose the type of accessory you want to make, and compare the project requirements with the time and materials you have available. Treat each tutorial as a starting point for practice rather than a guarantee that every design will work with every material or skill level.
Choosing the Right Project, Materials, and Techniques
The right DIY project should balance your intended use, current skills, and available materials. Before getting started, compare your options so you can avoid purchasing unnecessary supplies or choosing techniques that are too advanced for your current experience.
Comparing Popular Types of DIY Accessories
The table below provides a general framework for choosing a project. Actual difficulty will depend on the specific design and tutorial you follow.
| Project | Common Materials | Techniques and Considerations |
|---|---|---|
| Beaded bracelet | Plastic beads, fishing line, or cord suitable for the bead holes | String the beads, measure the length, and secure the connection carefully |
| Necklace | Beads, cord, decorative elements | Coordinate colors, arrange focal points, and check the strength of connections |
| Decorative hair clip | Base clip, fabric or decorative pieces, suitable adhesive | Secure decorations properly and allow the adhesive to dry before use |
| Handmade bag | Fabric, thread, and materials required by the pattern | Cut, join, or sew according to the instructions and inspect the seams |
| Fabric scrap accessories | Old fabric, thread, or complementary materials | Select fabric in good condition, finish the edges, and consider washing requirements |
| Knitted or crocheted items | Yarn and suitable knitting or crochet tools | Start with a basic pattern and maintain relatively consistent yarn tension |
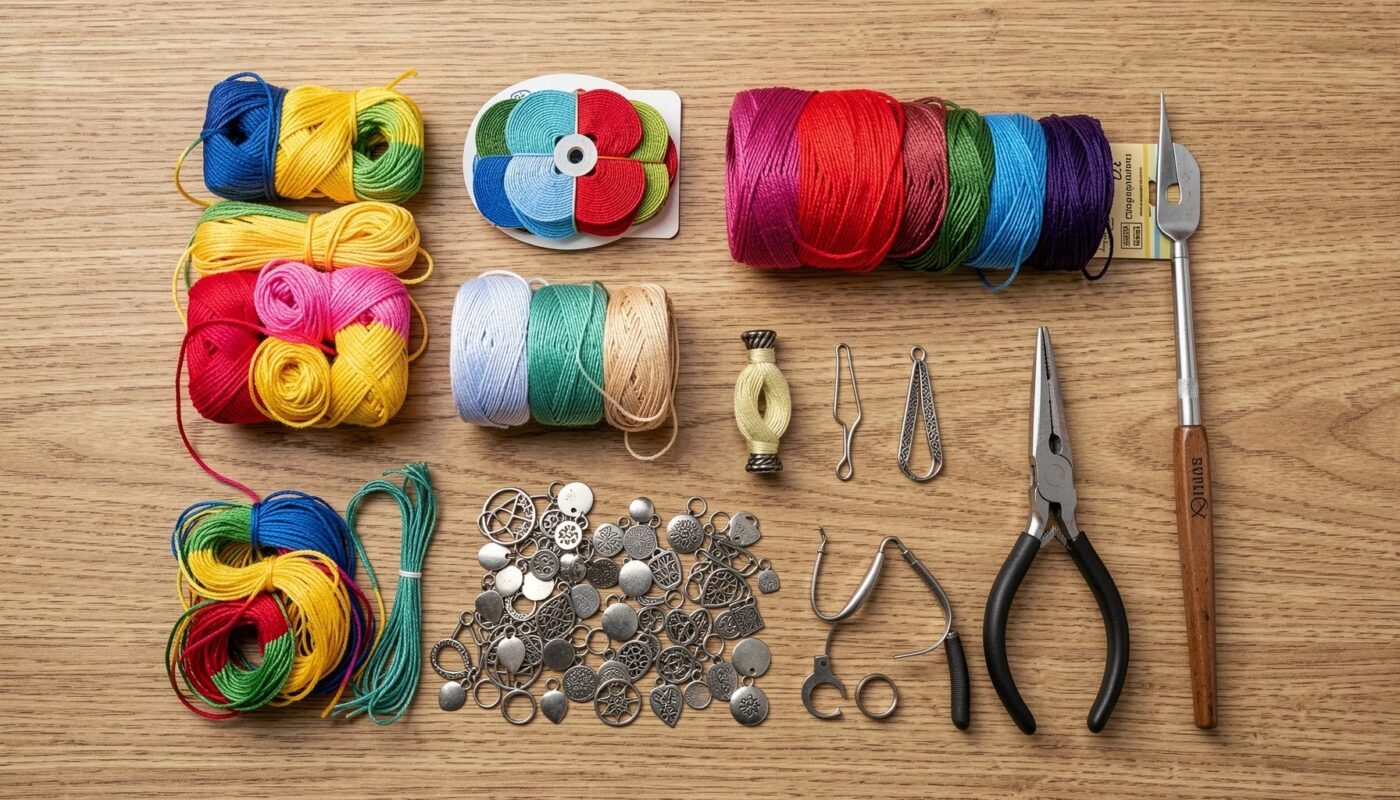
The list above describes materials commonly used for each project category and does not replace project-specific instructions. For example, the appropriate cord for a bracelet depends on the bead-hole size and closure style, while the best fabric for a bag depends on its intended function and construction. Always review the complete tutorial before purchasing materials.
Choosing Materials Based on Purpose and Skill Level
If you are a beginner, prioritize projects with fewer steps, easy-to-find materials, and techniques that are simple to inspect visually. Beaded bracelets and basic decorative hair clips can help you become familiar with arranging details, measuring lengths, and securing connections. Once you become more comfortable, you can explore crochet, embroidery, or handmade bags.
Choose materials according to how you intend to use the finished item. Accessories worn frequently need secure connections and surfaces that feel comfortable against the skin. Decorative pieces can prioritize appearance, but you should still check whether small components could loosen or fall off. When using old fabric, select sections that are clean, intact, and appropriate for your design.
Avoid buying a large supply kit simply because a project looks attractive. First, determine which materials you actually need, which tools you already have, and which components can be reused from existing items. This approach can make your project easier to manage while reducing waste.
Step-by-Step Guide to Starting a DIY Project
A successful DIY project often begins with reading the complete instructions, preparing the correct materials, and inspecting the finished product afterward. Following an organized process can help prevent mistakes caused by missing materials or skipped steps.
Five Steps to Complete Your DIY Project
Step 1: Choose one specific project. Avoid starting with a broad goal such as “making several accessories.” Instead, select one item—for example, a beaded bracelet—and decide whether it will be for yourself, a gift, or an experiment with a new style.
Step 2: Read the instructions from beginning to end. Review the steps, material list, and any available images or video demonstrations. Make a note of techniques you do not understand so you do not have to stop halfway through the project because information is missing.
Step 3: Prepare and inspect your materials. Place everything you need in one area. Check the holes in your beads, inspect the condition and dimensions of your fabric, and read the manufacturer’s instructions when using adhesive. Do not assume that one type of glue or cord will work equally well with every material.
Step 4: Follow each stage carefully. Complete the cutting, threading, joining, knitting, crocheting, or gluing steps in the recommended order. If you want to change a color or replace a decorative element, test the modification on a small section first.
Step 5: Inspect and finish the item. Check connections, lengths, fabric edges, and decorative details. Wear or use the accessory gently at first. If anything feels loose, sharp, or likely to detach, fix it before regular use or giving the item as a gift.
Practical Example: Making a Beaded Bracelet
For a beaded bracelet, begin by selecting a color palette and estimating your desired length. Arrange the beads on a flat surface before threading them so you can see the overall composition. You can create a repeating color sequence or use a few beads as focal points, but keeping the design relatively simple can make it easier to balance.
Next, choose a cord that fits the bead holes and the finishing method required by your design. Thread a short test section to make sure the beads move easily along the cord. Once the threading is complete, finish the ends according to the project’s instructions and gently test the connection. Avoid pulling excessively, as this may damage the cord or construction.
If the bracelet feels too tight, do not force yourself to wear it simply because it is finished. Adjust the length or rearrange the number of beads before securing the final connection. If your beads vary in size, consider positioning larger beads as focal points and distributing smaller beads throughout the rest of the design. This example illustrates the general process; always prioritize the measurements and finishing instructions provided by the specific tutorial you are following.
Expert Tips, Common Mistakes, and Solutions
Looking attractive is not enough—a handmade accessory should also suit its intended use and be finished safely. Take time to test materials, inspect connections, and adjust the design before making anything permanent.
Common DIY Mistakes and How to Fix Them
Buying materials before reading the instructions: A project may require a different cord, bead size, or material than you expect. Read the complete material list first, then purchase only what you are missing.
Choosing an overly complicated design as your first project: Projects with many stages make it more difficult for beginners to identify where something went wrong. Start with a simpler version, then add patterns or decorative details after learning the basic technique.
Securing connections before testing the fit: For bracelets and necklaces, check the length before finishing them. For hair clips, make sure the decoration does not interfere with opening and closing the clip. Make adjustments before applying adhesive or tying the final knot.
Using unsuitable adhesive or not allowing enough drying time: Different materials may require different bonding methods. Follow the adhesive manufacturer’s instructions, test it on a small sample, and allow it to dry before pulling on or wearing the accessory.
Ignoring durability and surface finishing: Loose threads, frayed fabric edges, unsecured decorations, and sharp corners can reduce usability. Inspect your finished piece under good lighting, gently check the edges, and correct any problems before using it.
Customizing Accessories for Personal Style, Gifts, and Small-Business Ideas
If you want to create a one-of-a-kind accessory, change one element at a time, such as the color, bead arrangement, length, or decorative details. Changing several elements simultaneously can make it difficult to determine which modification produced the best result. Taking a photo of your layout before assembly can also help you recreate the design later.
When making a gift, consider the recipient’s habits and personal style. An attractive accessory that is uncomfortable or impractical may not be used very often. Clean finishing, secure construction, and appropriate gift packaging can make the finished piece feel more thoughtful and polished.
If you are considering starting a small handmade business, create a sample first, record the materials used and the time required, and test its durability through normal use. One successfully completed item is not enough to determine whether a design can be produced consistently at scale. Evaluate consistency between samples, material availability, and suitability for potential customers. Craft tutorials can provide a foundation for product creation, but pricing and sales considerations should be evaluated separately.
2026 DIY Trends and the Perspective From kaiteez.com
In 2026, DIY directions highlighted in the provided material include Y2K, vintage, minimalist styles, and upcycling old fabrics. From the perspective of kaiteez.com, the priority is to begin with practical techniques and then customize them according to real needs instead of simply following temporary trends.
Combining Trends With Practicality
Y2K style can inspire bright color combinations and statement beads. Vintage aesthetics work well with materials and details that create a nostalgic feel, while minimalist styles generally emphasize clean, versatile designs. These are creative directions rather than strict rules—a simple bracelet can still feel personal when its colors and arrangement reflect your individual taste.
Upcycling fabric scraps and reusing old accessories are also ways to transform usable materials into something new. Before reusing materials, inspect their condition, clean them, and determine which sections are still suitable. Not every old material should be reused for every purpose. If something is damaged, difficult to clean, or no longer durable, choose another material.
DIY should not be assigned a fixed growth rate or guaranteed savings percentage without verified data. Actual results depend on material costs, tools you already own, the design, and how often mistakes require repairs or replacement materials. A more useful approach is to compare the cost of a specific DIY project with purchasing a similar ready-made item while also considering the time involved.
Kaiteez’s Practical Perspective
From the content perspective of kaiteez.com, a useful tutorial should help readers understand what they need to prepare, the correct order of the steps, and how to inspect the finished result. Beginners can prioritize simple projects, accessible materials, and techniques that do not require expensive machinery before progressing to crochet, embroidery, or more complicated designs.
Kaiteez provides ideas and tutorials for projects such as bracelets, necklaces, hair clips, handmade bags, and clothing decorations. The general process involves choosing a project, preparing materials, following the instructions step by step, customizing the design, and checking its durability. According to the information provided about the platform, users can access tutorials for free while also sharing their creations and connecting with others who enjoy crafting.
However, a tutorial cannot inspect the quality of individual materials or evaluate your specific conditions of use. Test connections yourself, read the instructions provided with materials, and adjust the design when necessary. This approach allows DIY to remain a creative activity while producing useful accessories, meaningful gifts, or a foundation for experimenting with a small-business idea.
Frequently Asked Questions
Which DIY Fashion Accessory Is Best for Beginners?
A beaded bracelet or simple decorative hair clip can be a practical starting point because you can experiment with colors and directly inspect the finished result. Choose a project with only a few steps, review the material list first, and increase the difficulty only after becoming comfortable with the basic techniques.
Do I Need Specialized Machines to Make Handmade Accessories?
Not necessarily. Kaiteez tutorials prioritize beginner-friendly methods that do not require expensive specialized machinery. The tools you need depend on the individual project, so review the specific instructions before purchasing equipment you may not actually use.
Can I Reuse Old Fabric or Accessories to Create Something New?
Yes, as long as the old materials are clean, durable enough, and suitable for the intended function of your design. Inspect them before use, deal with any frayed or damaged sections, and avoid reusing materials that would be unsafe when they come into contact with the body.
Is Kaiteez Tutorial Content Free?
According to the information provided about Kaiteez, users do not need to pay to access the tutorial content. The platform operates as a DIY and craft knowledge resource, while material costs will depend on the individual project and the supplies you do not already have.
>>>Enjoy shopping at Kaiteez
